A Season in Our Gardens
Contributed by Tim Johnson
Contributed by Paul Buttner
Contributed by Luke Matthews
In celebration of the opportunities hidden in this current crisis, we are launching a new blog about our backyard gardens. We agree that gardens are a fantastic way to unwind and reconnect and we would love to share this adventure with you.
Every couple of weeks through fall, we will post updates on what we are doing, how things are going and (we hope) what we are doing with all those squash and tomatoes. Three contributors will be providing our experiences from a large rural garden, a diverse backyard garden and a new gardener. We will also share some tips we have learned from our farming friends who, as it turns out, know a lot about growing things.
Large Rural Garden – Tim Johnson, CEO
In kicking off the gardening season, I always start with mulching. I love gardening but hate weeds. All the stress relieving benefits of an evening in the garden can be quickly lost pulling handful after handful of weeds. To combat them I mulch – twice. First, I use landscape cloth available at any garden center or nursery. It comes in varying widths. I like 3’ the best. Simply lay it on the ground and shovel a bit of dirt on the edges to keep it in place. Next, cut a 4-6 inch ‘x’ every couple of feet and plant your plants in the opening. Instant weed barrier all around your plants!

Next, I fill between the rows with a heavy layer of straw. A quick stop at the local feed store and you can grab as may bales as you need. This second mulch prevents weeds from emerging between the rows.
Even in my raised beds, I use a heavy layer of straw. Exposed soil quickly evaporates water, crusts over and in the height of summer gets very warm, slowly simmering anything that sits on top.
Together these mulches allows me to prevent most weeds, save a lot of water and add organic matter back into the soil as the straw decomposes over the winter.
Diverse Backyard Garden – Luke Matthews, Wildlife Program Manager
From seeding plots of corn on the family farm to growing a tomato plants in buckets outside my collage apartment, I have always engaged in gardening. Currently I have a large vegetable garden, chickens for fresh eggs, and bees for honey. More on the bees and chickens later, today I’ll focus on starting a summer garden.

I am usually one of the first to rip out the Chard, Lettuce, and Broccoli plants to make room for the summer garden. Once I have ripped out all of the winter plants, I add soil, compost, or manure to the garden beds and let them rest for a few days. Following that I run down to the local plant or hardware stores to buy “starts” or seedlings. Although you can start most garden plants by seed, I have found that to be very tedious and time consuming process. Therefore, with the exception of a few hardy plants such as corn, beans, and cucumbers I buy starts for all of my vegetable gardening. By late March the bulk of my garden is planted adding more plants as they become available.

A newly planted garden is very vulnerable for new and experienced gardeners. Weather that is too cold or hot can damage or kill young plants. Furthermore, slugs and other insects can wreak havoc on those tender plants. It’s important to be extra attentive during the first month to help ensure your garden gets well established.
Paul Buttner – Environmental Affairs Manager
My project is one that I’ve contemplated for about 15 years but always been camping and fishing way too much to get at it. The shelter-in-place life caused me to finally get serious. After buying about $800 of materials right out of the gate, I quickly realized there was no turning back and I’m now midway through construction and the cash register has rung up just north of $2,000 thus far.

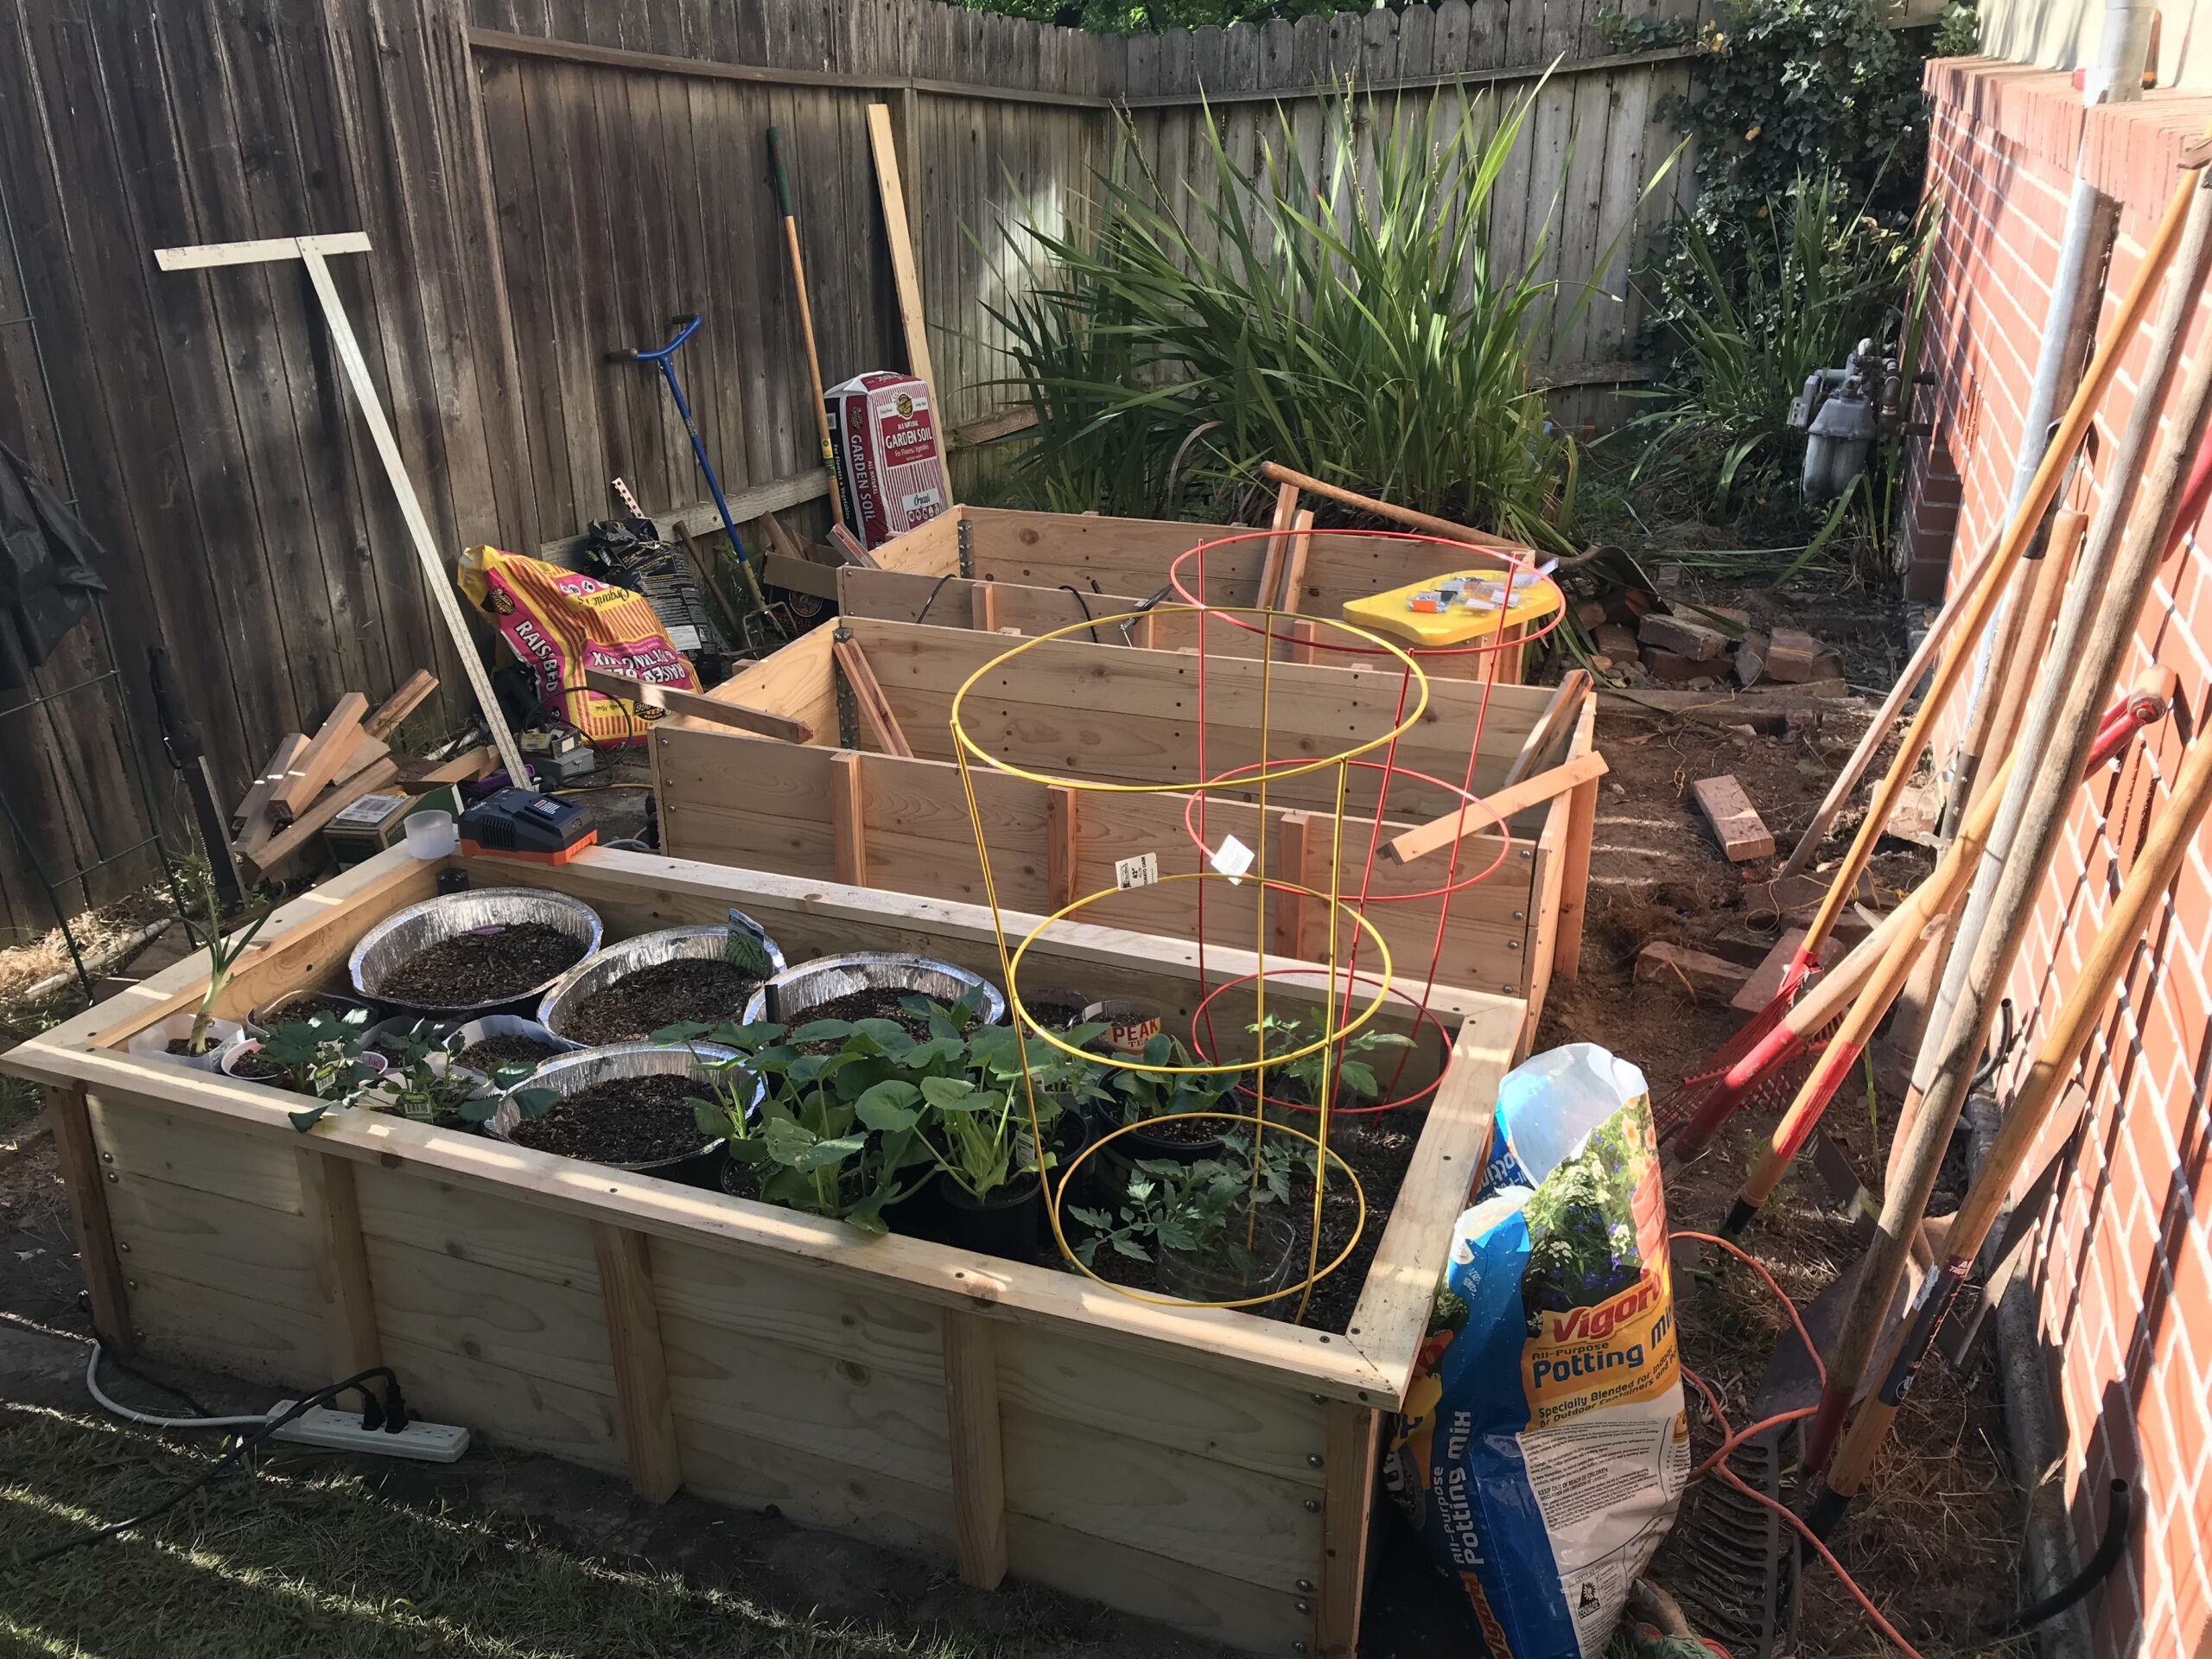
My project was to tear-out a seriously over-grown side yard and transform it into a “zen-like” utopian paradise of hand-crafted raised beds (five large and three small) and other homemade artwork and décor to accent this cool new spot to hang-out with a glass of wine and watch the plants grow.
While my custom raised bed construction technique results in a beautiful product, I don’t recommend it to anyone without buckets of extra time, a solid back and really good knees. The human-hours consumed, per raised bed box built, are enormous with mega measuring, digging, cutting, drilling, leveling, hammering and driving a seemingly endless supply of deck screws driven in; almost all of it done with my lower back uncomfortably bent forward and/or on my knees.

Two pictures show you the “before” and the “mid-construction” phase of the project. If I manage to stay out of the orthopedic wing of the hospital, you can look forward to seeing my further progress in the coming weeks!
